How to use FastReport.OpenSource in ASP.NET MVC application
As we know,
the FastReport.OpenSource libraries are “sharpened” for the .Net Core
framework. However, it may be necessary to display reports in the ASP .Net MVC
project. It would be nice to use free FROS for this purpose. In this article we
will look at how this can be done.
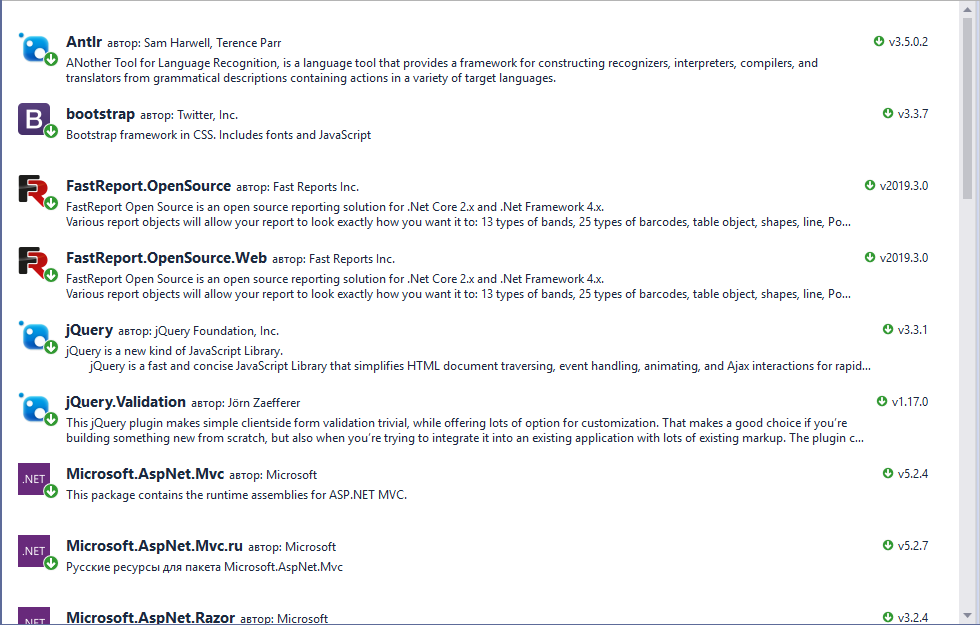
Create an
ASP.Net MVC project. Add FastReport.OpenSource libraries via NuGet:
Unfortunately, we cannot use the web report
object, as it is designed for .Net Core. Therefore, we will use the available
export of the report in HTML format. Multi-page report is exported to several
html files. One file - one report page. Thus, you can organize a transition
between report pages when viewing.
In the Model folder, create a class:
namespace FROS_ASPMVC.Models
{
public static class Model
{
public static int PagesCount
= 0;
public static int CurrentPage
= 0;
}
}
There are only two static variables: PagesCount
- stores the number of pages of the exported report, and gCurrentPage - stores
the number of the currently displayed page.
Edit the HomeController.cs controller:
public ActionResult Index()
{
// If the report has not yet been
displayed, the selected page is 0
if (Model.CurrentPage == 0)
{
// Create a report object
Report report = new Report();
// Load the report template into the Report object.
report.Report.Load(this.Server.MapPath("/App_Data/Simple List.frx"));
// Create dataset
DataSet dataSet = new DataSet();
// load the data source into
dataset
dataSet.ReadXml(this.Server.MapPath("/App_Data/nwind.xml"));
//
Register the data source in the report object
report.Report.RegisterData(dataSet,
"NorthWind");
//
Making the report preparation for the show
report.Prepare();
// Create an export object in
html format
HTMLExport export = new HTMLExport();
//
Set Export Options
export.Layers = true;
export.EmbedPictures = true;
// Perform report export to file
export.Export(report, this.Server.MapPath("/App_Data/Simple List.html"));
//
Set the number of the selected page
Model.CurrentPage = 1;
// Remember the number of report
pages
Model.PagesCount = export.Count;
}
// Open the file with the desired report
page
using (FileStream fstream = System.IO.File.OpenRead(this.Server.MapPath("/App_Data/Simple List.files/Simple
List" +
(Model.CurrentPage <= Model.PagesCount ? Model.CurrentPage.ToString() :
Model.PagesCount.ToString()) + ".html")))
{
byte[] array = new byte[fstream.Length];
// read data
fstream.Read(array, 0,
array.Length);
// Save The Page Content In
ViewData
ViewData["Report"] =
Encoding.UTF8.GetString(array);
}
return View();
}
// Increase the current page
number by one and call the Index method, which will display the desired report
page
[HttpPost]
public ActionResult Next()
{
Model.CurrentPage++;
return RedirectToAction("Index");
}
// Reduce the current page number by one
and call the Index method, which will display the desired report page [HttpPost]
public ActionResult Prev()
{
Model.CurrentPage--;
return RedirectToAction("Index");
}
Now let's move on to editing the Index.cshtml
view. Replace the code with your own:
@{
ViewBag.Title = "Home Page";
}
<table>
<tbody>
<tr>
<td>
@using
(Ajax.BeginForm("Prev", new AjaxOptions { UpdateTargetId = "updateArea" }))
{<input type="submit" value="Prev" />}
</td>
<td>
@using
(Ajax.BeginForm("Next", new AjaxOptions { UpdateTargetId = "updateArea" }))
{<input type="submit" value="Next" />}
</td>
</tr>
</tbody>
</table>
<div id="updatreArea">
<iframe width="800" height="800" srcdoc="@ViewData["Report"]" />
</div>
Here you
use two ajax requests to navigate through the report pages. Below is the frame
with the report page. We set the frame content using ViewData to transfer data
from the controller to the view.
Run the application:

By default,
the first page of the report is displayed. Click the Next button.

And we get
the next page of the report.
Thus, we
made sure that the free report generator FastReport.OpenSource can be used to
display reports in the ASP .Net MVC project, although it is not designed for
this.


Comments
Post a Comment