How to use FastReport Open Source in .Net WinForms applications. Part 2.
In the
first part of the article we created an application that allows you to download
a report in fpx format (prepared for the show) from a local disk and display
it. Let me remind you that we are creating a report viewer. In addition to
downloading and displaying a report, an integral part of the viewer is
navigation through report pages. Yes, reports that display a lot of data are split
up into pages for easy viewing. In addition, the report may contain a title
page, table of contents, conclusion and other stuff. Therefore, our next step
is to implement the viewing of different pages of the report.


Now let's
zoom in by making four clicks on the Zoom + button:

Let's
remember what our application toolbar looks like:

Navigation buttons have corresponding images.
As you remember, after downloading the report,
we export it in image format. At the same time, we fill in the list of report
pages and as a result we have a collection arranged in order. It only remains
to take the desired list item and display it. The whole task is to determine
the number of the desired page. By default, the CurrentPage variable is set to
0. Zero, because this is the index of the first list item — the first page of
the report. By increasing or decreasing the CurrentPage value we will get the
desired item number of the list of pages. Thus, the code for the event handler
for pressing the “First page” button will be as follows:
private void toolStripFirstBtn_Click(object sender, EventArgs e)
{
CurrentPage = 0;
ShowReport();
}
We set the number of the first element of the list and
call the procedure for displaying the report page. We implemented it in the
first part of the article, but still just in case here is its code :
public void ShowReport()
{
if (CurrentPage >= 0 &&
CurrentPage < pages.Count)
{
pictureBox1.Image = pages[CurrentPage]; // Set the image
toolStripPageNum.Text = (CurrentPage + 1).ToString();
}
}
A check at the beginning allows you to evaluate the
correctness of the value of the current page. Then we assign to the object a
picture of the element of the “pages” list with the necessary index. In the
last line we display the number of the current page in the text field.
Now we will look at the event handler of the button
“Previous page”:
private void toolStripPrewBtn_Click(object sender, EventArgs e)
{
CurrentPage--;
ShowReport();
}
In this case, we simply decrease the CurrentPage value
by one each time the button is pressed. And, respectively, for the button “Next
page” - we increase by one:
private void toolStripNextBtn_Click(object sender, EventArgs e)
{
CurrentPage++;
ShowReport();
}
And for the “Last Page” button - just take the number
of elements in the list of pages, minus one, to get the index of the last element:
private void toolStripLastBtn_Click(object sender, EventArgs e)
{
CurrentPage = pages.Count - 1;
ShowReport();
}
Among the navigation buttons there is a text box in
which you can enter the page number. To activate the transition to the page we
will use the keystroke event:
private void toolStripPageNum_KeyDown(object sender, KeyEventArgs e)
{
if (e.KeyCode == Keys.Enter)
{
int pageNum =
Convert.ToInt16(toolStripPageNum.Text) - 1;
CurrentPage = pageNum;
ShowReport();
}
}
Check whether the Enter key is pressed, and if so,
then display the desired report page.
Now we implement the functionality of two more useful
buttons: Zoom and Delete.
This method is not as simple as it may seem. The fact
is that we cannot simply enlarge the image. The loss of quality will be
noticeable after the first approach. We need to increase the resolution of the
image in parallel with its stretching. And for this you need to do a new
export. As we increase the specific page of the report, then the export should
be done on this page in order to save resources.
Page approximation:
private void toolStripZoomIn_Click(object sender, EventArgs e)
{
using (MemoryStream stream = new MemoryStream())
{
exp.ImageFormat =
ImageExportFormat.Png; // Set the image format png
exp.Resolution += 25;
exp.PageNumbers =
(CurrentPage+1).ToString();
exp.Export(Report, stream); // Export report to file
pictureBox1.Image =
Image.FromStream(stream);
}
pictureBox1.Width += 25;
pictureBox1.Height += 25;
}
To avoid problems with the subsequent deletion of
files, we use the stream to save the result of the export to it. Set the export
format - png. Set the report page numbers for export. In our case, this is the
current page. Set the image resolution in the export. Each time you press the
button, it will increase by 25. And we export to the stream and set the image
for the Picture object. We got an image with an increased resolution, now we
stretch the PictureBox object.
The reduction method works almost the same, the only difference
that we do not reduce the image resolution, but only reduce the height and
width of the PictureBox object.
private void toolStripZoomOut_Click(object sender, EventArgs e)
{
using (MemoryStream stream = new MemoryStream())
{
exp.ImageFormat =
ImageExportFormat.Png; // Set the image format png
exp.PageNumbers = (CurrentPage
+ 1).ToString();
exp.Export(Report, stream); // Export report to file
pictureBox1.Image =
Image.FromStream(stream);
}
pictureBox1.Width -= 25;
pictureBox1.Height -= 25;
}
At the very beginning, in the first part of the
article, we stated in the program requirements the ability to view reports from
the list. This time we will use reports in the frx format. In the project root,
create a Reports folder. In it we will add report templates and xml database
for them. Of course, you should take into account that not all reports will be
exported to a picture. Interactive and dialog reports are definitely not for
our application.
Let's add to the form designer a call to the method of
filling the list of reports:
public Form1()
{
InitializeComponent();
LoadReportList();
pictureBox1.Width = 793;
pictureBox1.Height = 1122;
}
Also, we
set the initial size of the PictureBox object.
public string reportsPath =
Config.ApplicationFolder + @"..\..\Reports\";
public void LoadReportList()
{
List<string> filesname = Directory.GetFiles(reportsPath,
"*.frx").ToList<string>();
foreach (string file in filesname)
{
ReportsList.Items.Add(Path.GetFileNameWithoutExtension(file));
}
}
In the method of loading the list of reports, we get a
list of files in the Reports folder. Then we load the names of the reports into
the list of reports.
Now we will implement the viewing of these reports.
Use the SelectedIndexChanged event for the list:
private void listBox1_SelectedIndexChanged(object sender, EventArgs e)
{
if (ReportsList.SelectedItem != null)
{
Report.Load(reportsPath +
ReportsList.SelectedItem.ToString() + ".frx"); // Load report template
DataSet data = new DataSet(); // Create a data source
data.ReadXml(reportsPath + "nwind.xml"); // Load the database into the data source.
Report.RegisterData(data, "NorthWind"); // Registering the data source in the report
Report.Prepare(); // We perform a preliminary report
ReportExport();
ShowReport();
}
}
Here we
simply load the selected report from the Reports folder into the report object.
Create a data source and load the xml database into it. We register the data
source in the report and proceed to export. You must first prepare a report
using the Prepare () method. For export, we have a ready-made ReportExport ()
function. And using the ShowReport () method we display the report page.
So it's
time to start and test our report viewer.
Select the
first report from the list:

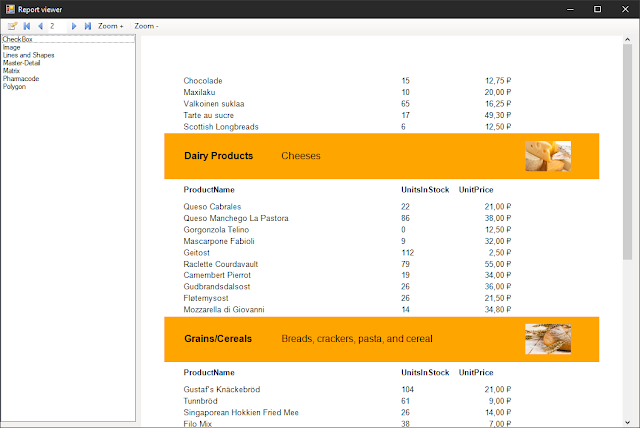
By choosing different reports from the
list we became convinced that everything works as it should. Now open the
report in fpx format, using the first button on the toolbar. In the dialog box
that appears, select the file with the extension fpx. Let's try to go to the
second page of the report using the button:


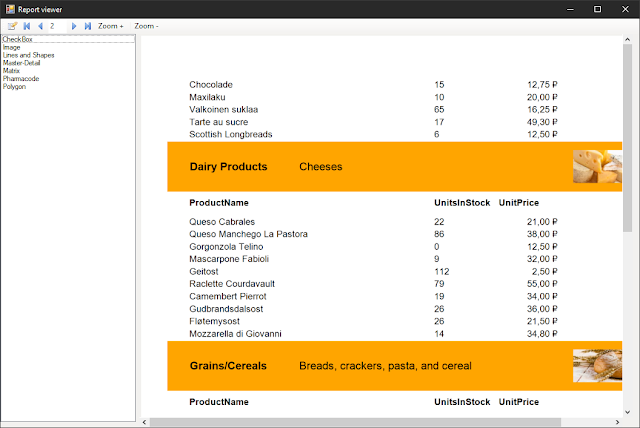
Let’s zoom
out by ten clicks on the button Zoom -:

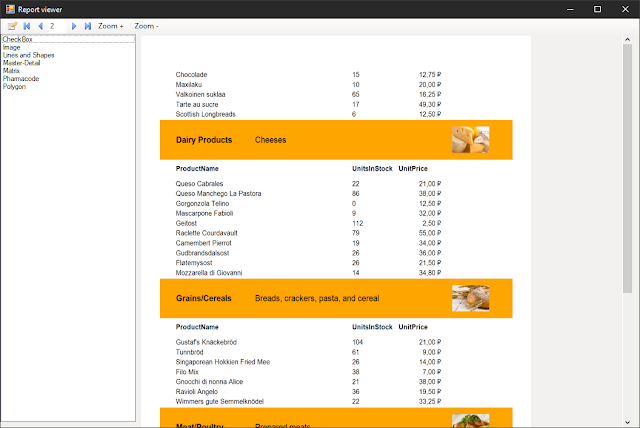
And
finally, we enter the number 3 in the text box page numbers. And press
Enter:

As you can
see, despite the orientation of the FastReport.OpenSource libraries to the web
platform, they may be used well in ordinary desktop applications.
How to use FastReport Open Source in .Net WinForms applications. Part 1.
How to use FastReport Open Source in .Net WinForms applications. Part 1.


Please I did not see the list of files How do I define it ReportsList Where is it in the description I did not find its definition and type?
ReplyDeletePlease provide code for print option
ReplyDelete